Stitching
Setup for Construction
Having cut out all the pieces, I built a jig the shape of the middle bulkhead to temporarily screw the side panels to, and to position the bottom panels.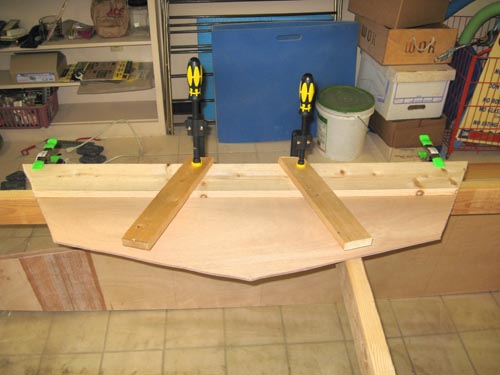
The Middle Bulkhead Jig, Clamped to
Middle Bulkead for sizing.
Then I built a strongback out of 2x4's to hold the jig and the transom
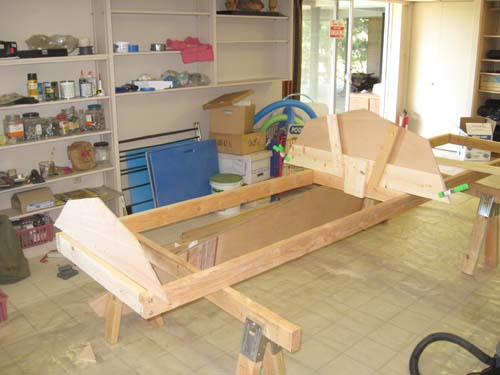
The Strongback
Assembling the Panels
On
attaching the the side panels to the transom and the jig it was obvious
that I didn't allow for the rocker of the boat and needed some
clearance between the transom and jig and the strong back so I could
connect to the bow --duh!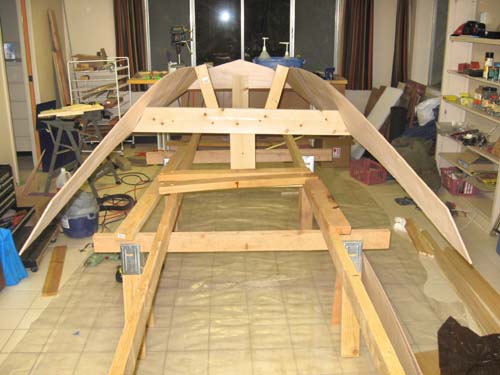
Jig and Transom Elevated
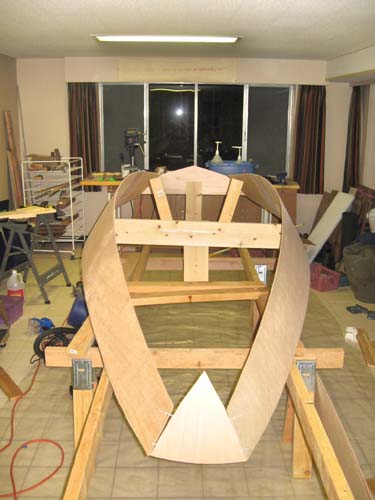
Bow Tied In
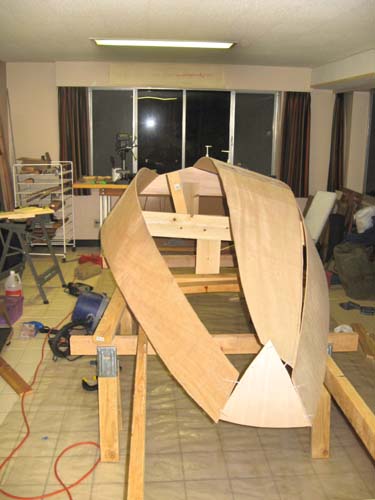
First Bottom Panel Tied In
So to make a long story short I tied in all the panels with ties about every 8" along the seams.
The Seamy Side of the Struggle
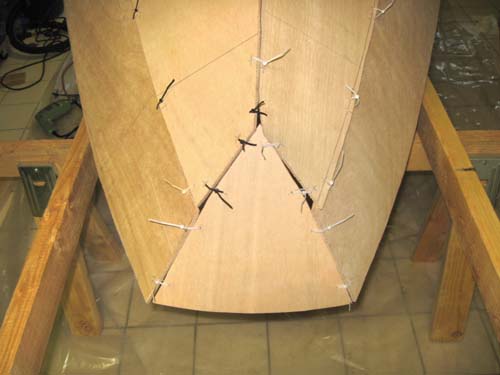
Ugly Gaps #1
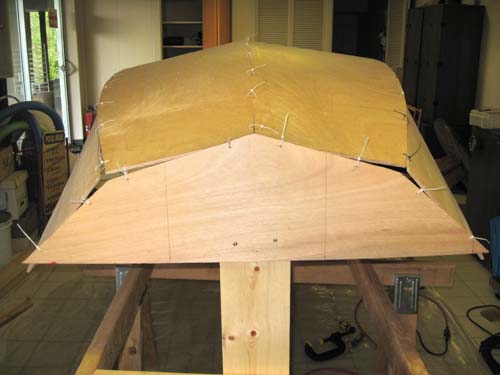
Ugly Gaps #2
The initial result wasn't too pretty, being some distance from the desirable 1/4" gap all around. There were lots of wood to wood "hard point" contacts. But at least it was looking something like a boat. I turned it over and went to work.
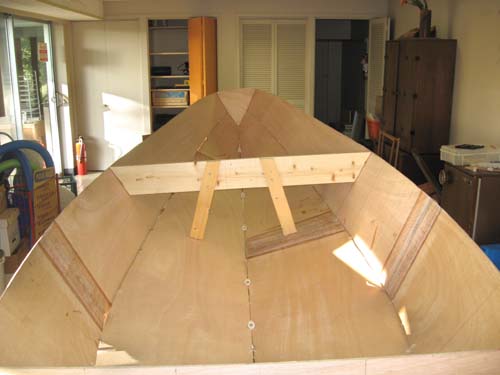
Beginning to Shape Up
After
a fair amount of wrassling with the plywood, tightening, loosening it
began to shape up. Chunks of scrap plywood as temporary spacers were
some help, Short lengths of 1/2" PVC pipe looped in with the tie wraps
helped get the spacing right in some of the difficult spots. This was a
tip I picked up somewhere in the Bateau Forums. I used quite a few to
start, but as it started to shape up I was able to eliminate most
of them.
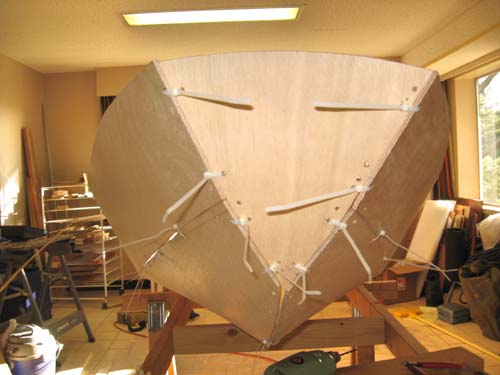
The Bow Much Improved
A this point the diagonal measurements--transom to bow opposited corners are about 1/2" difference. Its been quite a struggle to get to this point. It may be best to be content with this. The next step will be to tape the outside of the seams with duct tape and start the process of filleting and glassing the inside of the seams.
<previous | home |next>