The Inside Seams
The next step was to do the inside seams. This involved laying down epoxy putty fillets in the seams and covering the seams with epoxy and fiberglass. Ideally this should be done wet-on-wet. That is, a layer of epoxy is put down, followed by the fillet and finally the fiberglass which is wet down with a final coat of epoxy, this all being done before the first layer of epoxy cures. I accomplished this, but with the troubles to be described, it made for a long day.
Having cleaed up the duct tape mess, I roughed up the inside surfaces of the tack welds with 60-grit sandpaper. The too-hot-to-hold pastry bag I used for the tack welds suggested that I should tone down the hardner a bit. I did that by using a 50-50 mix of slow and fast hardner to make the putty. I did a little shopping while the tacks were setting and found a local outfit, Tap Plastics, handles epoxy and fiberglass materials and tools. I was able to get some empty caulking tubes for $1.50 each from them. I thought they would be a little more manageable than the pastry bag for putting in the fillets, although it turned out that using the pastry bag as a intermediate between the mixing pot and the tubes was a great way to fill the tubes with minimum mess.
Not being sure how much it would take, I made enought putty to fill the first tube about halfway. That was good for about 2/3 of the first of three10.5' seams. So I mixed up enough the second time to about fill a tube, continuing to use the 50-50 slow-fast hardner. The full tube created a critical mass of reacting epoxy. It went nuclear and set up in the tube after about 3' of seam. This was working in a room with the temperature in the high 60's. I was barely able to get the applicator tool free from the tube. It was ugly.
I had two emty tubes left--would they be enought to finish the inside? Using only the slow hardner this time and filling the tubes full each time, I was able to do it. The tubes didn't get even warm to the touch.
The Fillets In
The
final step was putting down the fiberglass. Since I had already done
this joining the panels together, this didn't present too much
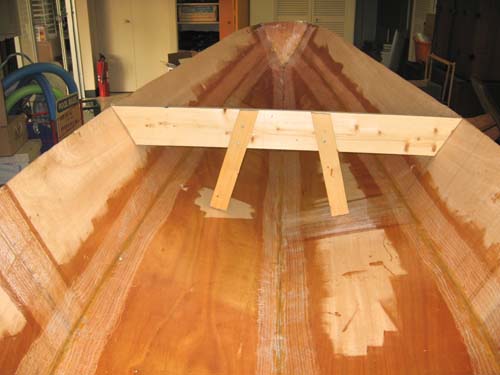
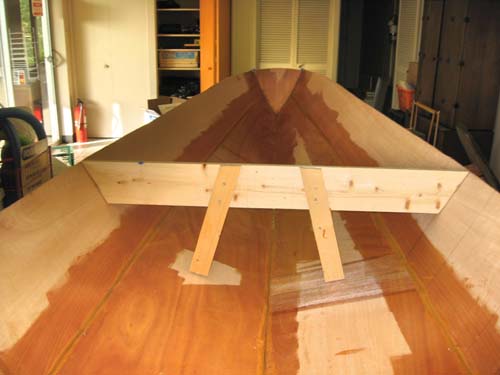
difficulty. The middle jig was my idea of how to assemble the panels and
have the clearance to do full length seams on the inside. The other way
to do it is to use one of the middle bulkheads there held there
with screws through the side. But that way the seams have to be done
piecewise.